We recently removed all of the wallpaper in our laundry room and removed a large, unsightly metal shelving unit at the same time. In doing this it left us with absolutely no area to put spray bottles or other things needed in the laundry room. If you want to install a shelf, it’s DIY 101, but because we’ve previously done it incorrectly, it warrants pointing out a couple of things.
The shelf that we installed is the simple wood shelf that you’d purchase at any home improvement store. It’ll usually come with a wood shelf, two brackets, two wall anchors and two screws. They come in varying length and colors.
In our case the area was relatively small, so we couldn’t put the screws directly into the wall studs.
The tools needed: electric screwdriver, a variety of drill bits, a level and a hammer
How to install a shelf
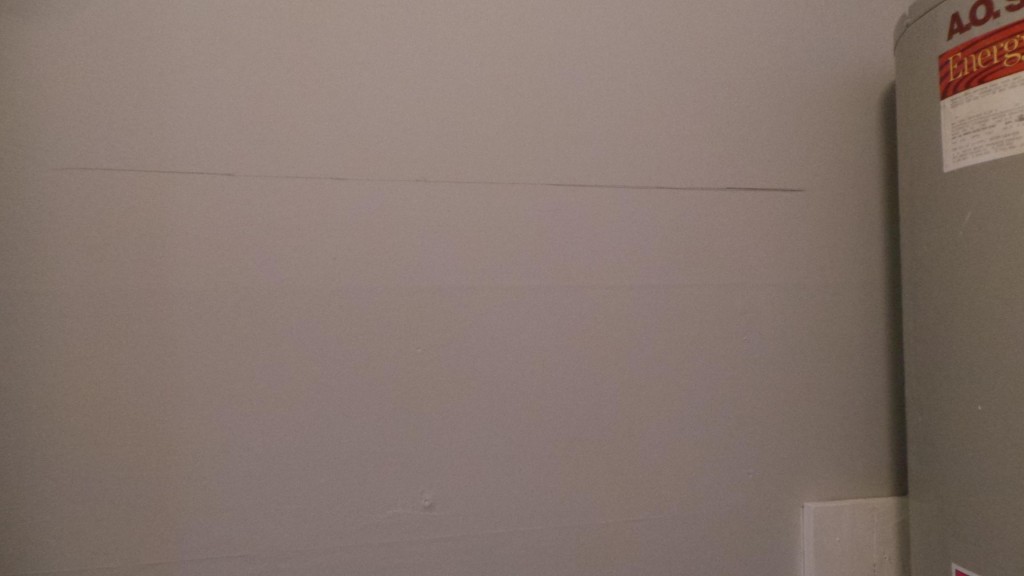
- Place the shelf, with the level on it-on the wall in the area where it will be. When it’s level, draw a line across the length of the shelf on the bottom side
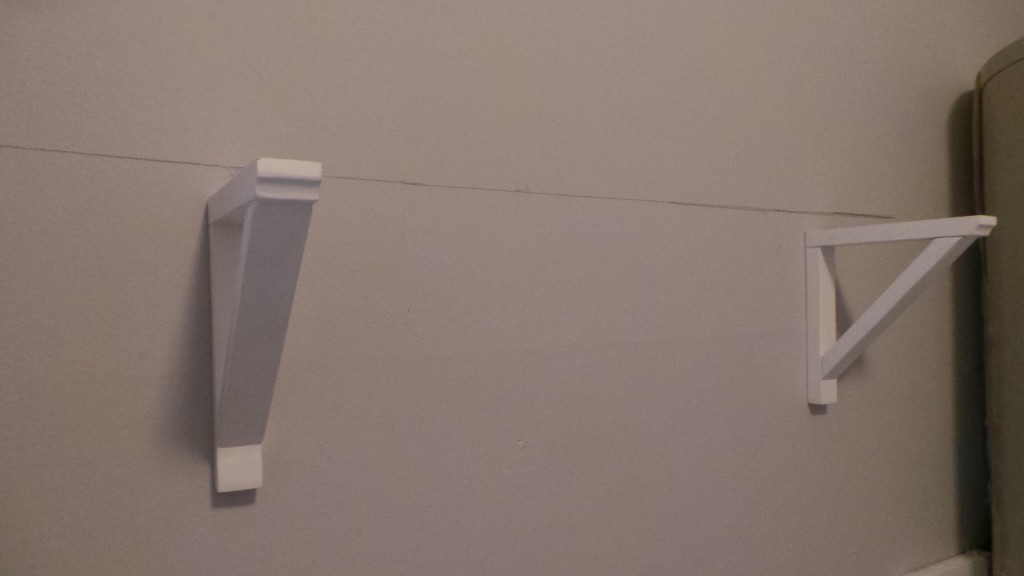
 Measure equal distances away from the edge of the line where you would like the brackets. Turn the brackets on their side and put a dot where the notch is. Both brackets will have a notch that will allow the screw to fit into once the anchor is in the wall.
- Screw a pilot hole in the wall big enough for the anchor to snuggly fit.
What anchor you use makes a big difference. If you’re securing a shelf directly into the drywall you will need to use a stronger than average anchor. If your anchor is simply an orifice without something to grip the other side of the drywall your shelf will fall. We always have a handful of Toggler Anchors in the garage and they have never let us down.
A high quality anchor will look like a “T” with a long top and short body. To activate it, just bend the middle part out so that it’s straight.
4. Once the anchor is straight, put it into the hole and tap it in with a hammer. Do both the same to both holes.
5. Now that the wall anchor is in place, put the screw in there. Screw it 95% of the way in, leaving enough exposed to hook into the notch on the back of the bracket.
6. Put the brackets onto the screw and lightly tap down on the top with a hammer.
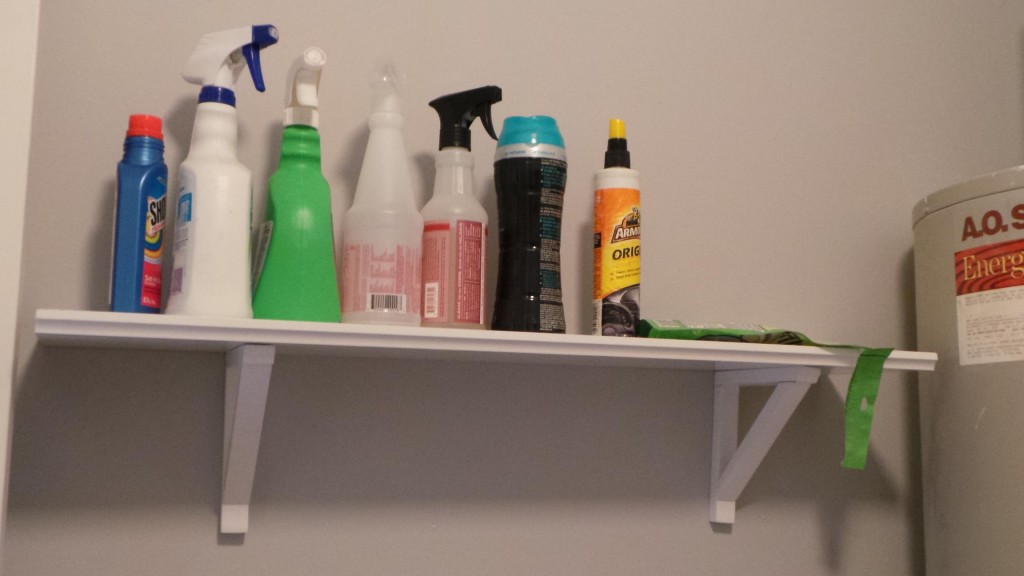
7. Place the wood shelf on top of the brackets and confirm that it’s level.
If it’s not level now, well, it’s too late. Measure twice, be certain that your initial line is straight twice and take your time. That was our mistake on a closet coat rack. We were in a hurry, only checked for level once and our rack has enough of a slope for the jackets to be on an eternal ski slope.
8. For extra strength and safety, put another screw or two from the top of the shelf going into the bracket. Be sure to drill them flush with the surface of the shelf or they’ll snag things that you place on top.
9. Put things on the shelf and keep the room clean.
This is a really simple DIY project that will only take you 20 minutes. The important takeaway is that you don’t need to panic if you are unable to screw into the studs. If that’s the case then you must use a strong wall anchor. Starting out I thought that all wall anchors were created equal-and they aren’t.
Each Toggler wall anchor can hold 40 pounds, put two of them into the support brackets for a shelf and you’re secure that it’ll stay put. We recently helped a friend with her store and put in some regular anchors into the drywall. They immediately popped out due to the shelves and what they were supporting. Higher quality anchors were installed (with a little caulk to fix the damage) and they’re still supporting upwards of 10 pounds of merchandise.
As a stay at home dad I miss having the spare time to fix things. Even though the children are my full time job, things still break or need a fix in the house. Sometimes the repair will be something that I can easily complete and other times it’s a repair that I simply should’ve paid to have it done. Regardless, I’ll write it up here in hopes that you may be able to gauge what you can do and when you need to call in for help. The series is called, Naptime DIY because the tasks are hopefully accomplished in 60 minutes, which is a good naptime period. In this case it’s a very simple fix, that’ll take 20 minutes maximum.


 Facebook
 Twitter
 Flickr
 GooglePlus
 Youtube
One thought on “Naptime DIY: How to install a shelf”
Comments are closed.