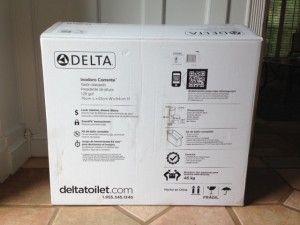
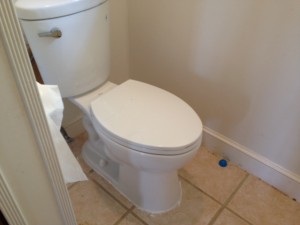
At my first house I put a sealed jar of water in the toilet basin in an effort to save money. Archimedes would’ve been proud of me, but even after doing that, the toilet still used over 2.5 gallons of water each time it flushed. Our new house has better toilets that use less water, but they have just been lapped by the Delta Corrente Toilet.
The Delta Corrente toilet uses a miserly 1.28 gallons per flush and according to the EPA that could save $90 a year. To not use a toilet that uses less water is literally flushing money down the toilet.
Initial impressions
My initial impressions of the Delta Corrente Toilet:
- It’s sleeker
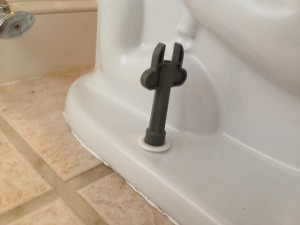
- The basin was smaller and didn’t have any bolts going through it.
There are bolts coming from the underside of the basin, but not going through it. I immediately knew that meant that the chance of leaks was 0%. Whenever I’ve switched out toilets before the bolts connecting the basin to the seat were always the ones that require more attention.
Removing the old
The most difficult and time consuming part of toilet installation is taking the old one out. In our case 60% of the total time was spent on removing the old toilet.
The Delta Corrente Toilet comes with an EZ Out Toilet Removal Kit that had everything you need to remove the old one.
Be sure of the 12” Rough-In
You must measure from the wall to the bolts that will secure the toilet. Is the distance at least 12”? The Rough-In, or wall to bolt distance for the Delta Corrente Toilet is 12”. Now that you’ve measured the distance and have confirmed that your new water saving toilet will fit, let’s continue.
You also want to confirm that the toilet will allow any doors to open or close. In our case it was going into a small bathroom that is used more frequently, but had a closet door in front of the toilet. We measured out from the wall and the new toilet would allow plenty of room for the door.
Installing the Delta Corrente Toilet
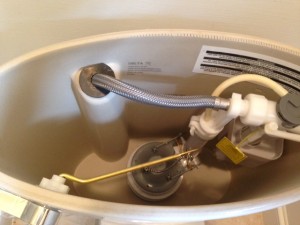
The Delta Corrente Toilet has everything (except for caulk) that you need to install. The wax ring, tools, gaskets and flushing mechanism for the basin are all included.
Positioning the base of the toilet over the bolts is the trickiest part. This is best done with another person to maneuver the bolts through once the toilet is over them.
The basin to the Delta Corrnette Toilet has bolts that come down, but not through it. This means there is no chance that it will leak. All you have to do is install the gasket on the underside, then put the basin onto the toilet through the holes. Snuggly push down and then secure the bolts on the underside.
The final step was to put the locking mechanism for the toilet seat, then install that and the job was done. Prior to installation we all but memorized the video from Delta’s website. It was quite helpful.
The Bottomline (pardon the pun)
The Delta Corrente Toilet uses less water and will pay dividends down the road. You will immediately notice the lower water level and how much quieter and quicker it flushes. This is great because you can flush it at night, not hear it and it fills up in about :30. It still packs plenty of flushing power, which you need sometimes with two children.
I do wish that the toilet seat folded slowly. You could certainly install a slow folding toilet seat on the Delta Corrente. The toilet seat it comes with is so easy to install and secure once it’s on that I can overlook the slow folding toilet seat we used to have.
It’s comfortable to sit on as it sits higher than our other toilets. Not that I’m getting a Napolean Complex or anything.
I participated in a campaign on behalf of Mom Central Consulting for Delta Faucets. I received a product sample and promotional item as a thank you for participating. All thoughts are our own.


 Facebook
 Twitter
 Flickr
 GooglePlus
 Youtube