A couple of years ago I paid $160 for an HVAC person to come in and replace an aging thermostat. Fast forward to current times and our upstairs unit was turning on and off without rhyme or reason. Because the repair person told me then that they both should be replaced I knew what to do. Having seen it done then I knew that it was a project that you can easily do in 15 minutes.
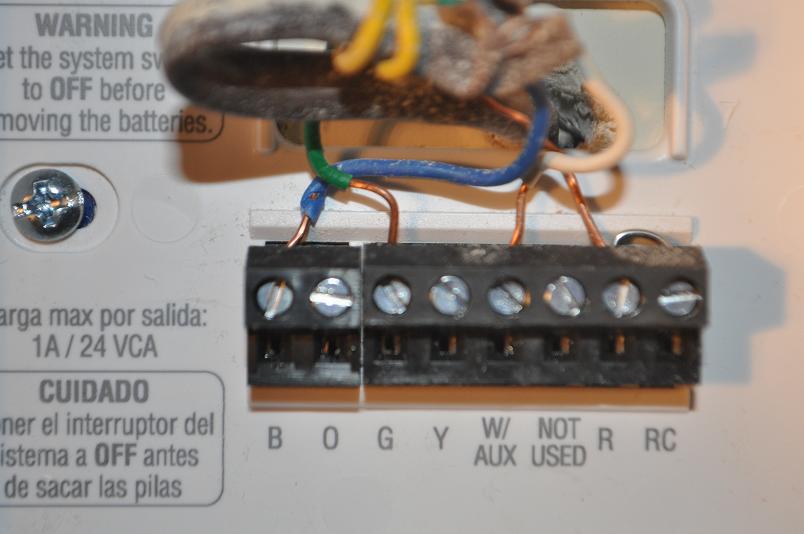
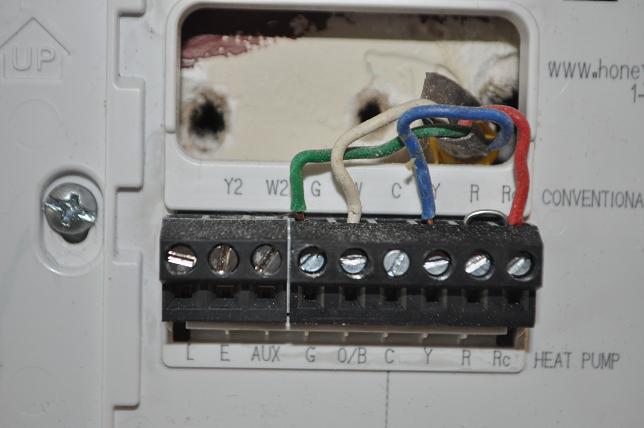
The instruction manual is very clear. There are 4 colored wires coming from your wall to the existing thermostat. Take some tape and mark those wires to the corresponding letter that they plug into in the back of the thermostat. IMPORTANT, the color of the wires coming from the wall does not dictate where they plug into. For example the green wire, may or may not plug into the “G” letter in the back of the thermostat. Also IMPORTANT, turn off the power. The instruction manual for your device is very clear and simple, but if you have any questions or hesitation, call an electrician.
Also, once the wires are plugged into the correct slots, be certain to have the thermostat switched to the correct “Gas/Electric” option.
Assuming all of this is done, the process should take 15 minutes and you’ll be on the sofa sooner than you can say, ‘when does the next Die Hard come out?’
Our mistakes
I made one critical error in replacing our unit. I did read the instruction manual and looked for letters on the old unit that corresponded to a color. However, I didn’t see any letters. Because I didn’t see any letters, I simply assumed that the color of the wire went to the letters that the color started with.
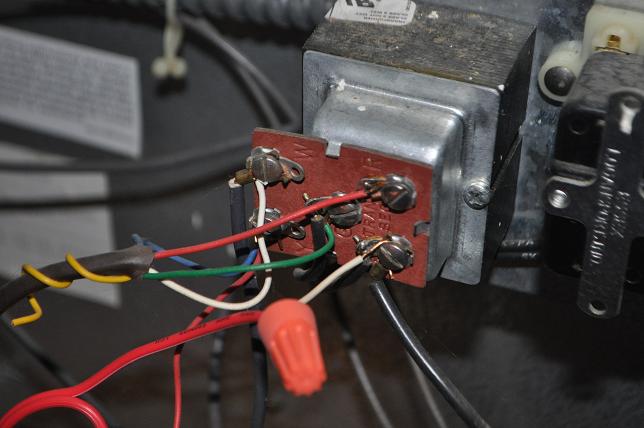
That is not the case. After 30 minutes of frustration I called the toll free number that was on the installation manual. They told me to go up into the attic, look at the unit, match the wires on the side of the unit to their letters-and then repeat the pattern on the thermostat.
After 30 minutes of more frustration I called an HVAC company to come out and assist. Thankfully, they couldn’t come out for two more days.
During that time my wife said something that made me remember that we paid someone to correctly install one two years ago. All I had to do was look at the way they wired it and repeat it upstairs. Unfortunately, when I did that it was still acting funny. I checked the back and noticed that it was set to ‘heat pump’, d’oh. I moved it to ‘gas’ and it worked perfectly.
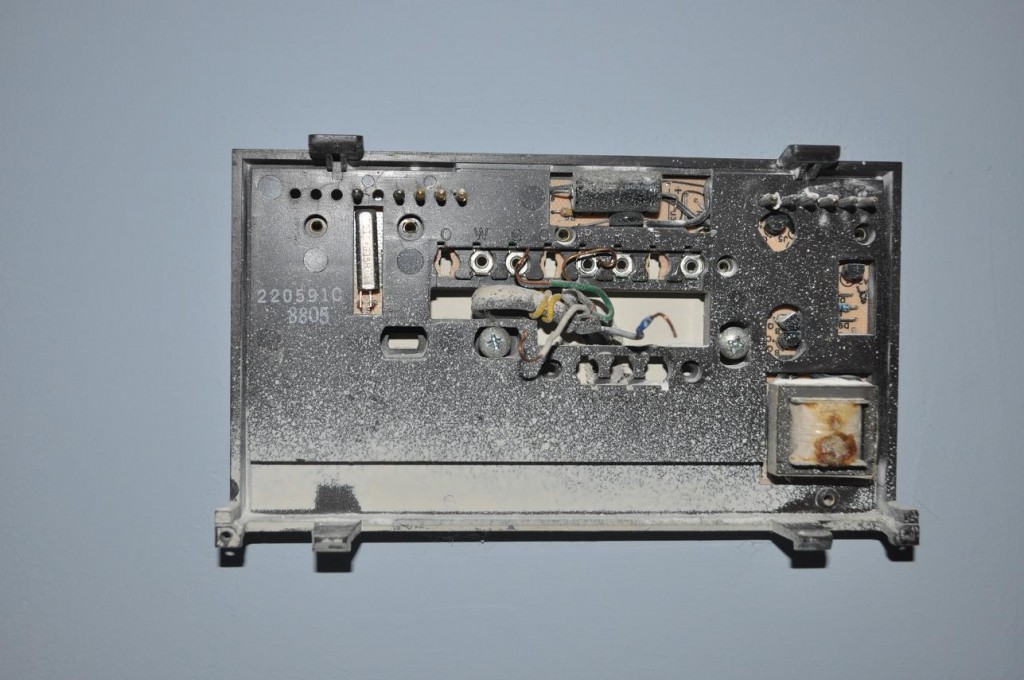
In my case the old residents had used spray paint when the back of the old thermostat was open. Some of that spray blurred the letters on the back to where I couldn’t read them.
This is how eHow says to do it: How to Install A Honeywell Thermostat
Hints
Don’t see letters on your thermostat? Look again, they are there. Feel around for them, take a photo using a flash and they’ll appear.
Have all of your tools in the same area.
Tools you will need: precision screwdrivers, pliers, flat head screwdriver and a hammer.
As a stay at home dad I miss having the spare time to fix things. Even though the children are my full time job, things still break or need a fix in the house. Sometimes the repair will be something that I can easily complete and other times it’s a repair that I simply should pay to have done. Regardless, I’ll write it up here in hopes that you may be able to gauge what you can do and when you need to call in for help. The series is called, Naptime DIY because the tasks are hopefully accomplished in 60 minutes, which is a good naptime period. In this case it’s a simple fix, just prepare, look for the letters/wires and it’ll take 20 minutes maximum.


 Facebook
 Twitter
 Flickr
 GooglePlus
 Youtube
Sup Mojo,
Thanks for the experience. I may need to replace ours soon. Though, I saw a video on the Nest thermostat and then saw it a Lowe’s.
Take a peek at: http://www.nest.com/living-with-nest/
This thing is amazing. I just need the pesos.
Jason
I have seen that, but was unsure of the cost. How much do they run?
1st gen is $198 at Lowes or Best Buy.
2nd gen is $250
3rd gen will do your taxes, put the baby to bed, and make you chocolate chip cookies.
PLEASE MAKE SURE TO TURN OFF THE BREAKER THAT YOUR THERMOSTAT IS ATTACHED TO! LOW VOLTAGE CAN STILL SHOCK YOU (I know first hand). The thermostat will not usually have its own breaker. It is usually tied into some other line.
D’oh. Yes, I left out that key and very important element of our work. We turned off the power to the entire house. I’ll amend the post, fine catch.